
First ...
... Download your font from the Graphics Factory font library to a location on your computer, follow the instruction for download images if you don't know how to download the fonts because it's the same process (It doesn't matter where you save it).
Windows users will download a .ZIP file and Mac users will download a .SIT file, these need to be uncompressed before installing your fonts.

Second ...
... Unzip your Downloaded Font File. You must have a .ZIP (for Windows) or .SIT (for Macs) utility in order to continue from here.
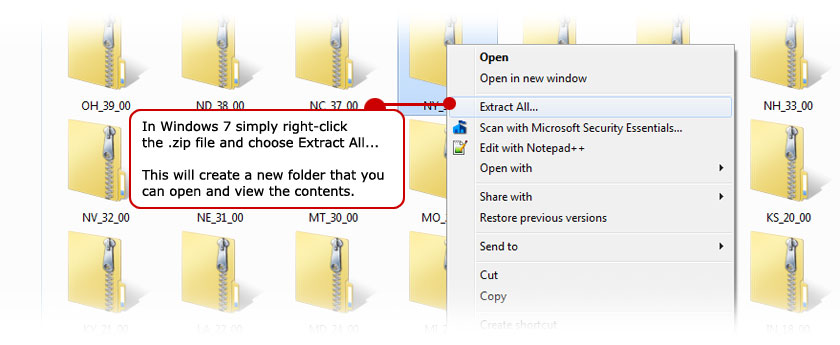
P.S. Using Windows 7 you can unzip the file without installing WinZip by right-click and choosing Extract all.
If you don't have a zip utility you can download one now from the links below.
WinZipClick the download link and then click the Evaluation link. You can use the Evaluation program FREE.
StuffIt Expander (Works with PCs and Macs)
Just fill the form out and click the Download button, it's FREE.
Right-click the .ZIP file you downloaded from Graphics Factory and select Extract to Folder... That will extract the contents so you can use the font file.
After you click Extract to folder WinZip will create a new folder in the same directory you're in. It will be named the same as the .zip file.

Third ...
... once you unzip the font file you can install it on your system using the following methods...
-
Under Windows Vista and Windows 7
Right-click directly on your font file and click Install (.ttf, .otf or .fon). Right-click> Install -
Under any other version of Windows
Copy and paste your new font files (.ttf, .otf or .fon) into your Fonts folder, usually C:\Windows\Fonts or C:\WINNT\Fonts (can be reached as well by the Start Menu> Control Panel> Appearance and Themes> Fonts or by Right-clicking the Windows Start button and selecting Explore. Then browse to your font folder usually C:\Windows\Fonts).
You can right-click on your new font file and choose copy, then paste or use CTRL+V on the keyboard in your fonts folder. Your new font will install automatically once you paste it into your fonts folder. Then you can use your font in any Windows application.
-
Under Mac OS X :
Put your font files into /Library/Fonts (for all users), or into /Users/Your_username/Library/Fonts (for you only). If your OS includes the Font Book, you can as well double-click on a font file, then a preview pops with an "Install font" button.

Fourth ...
... that's it, you can now use your font in any program installed on your computer. It will show up on the font list along with all other fonts.
